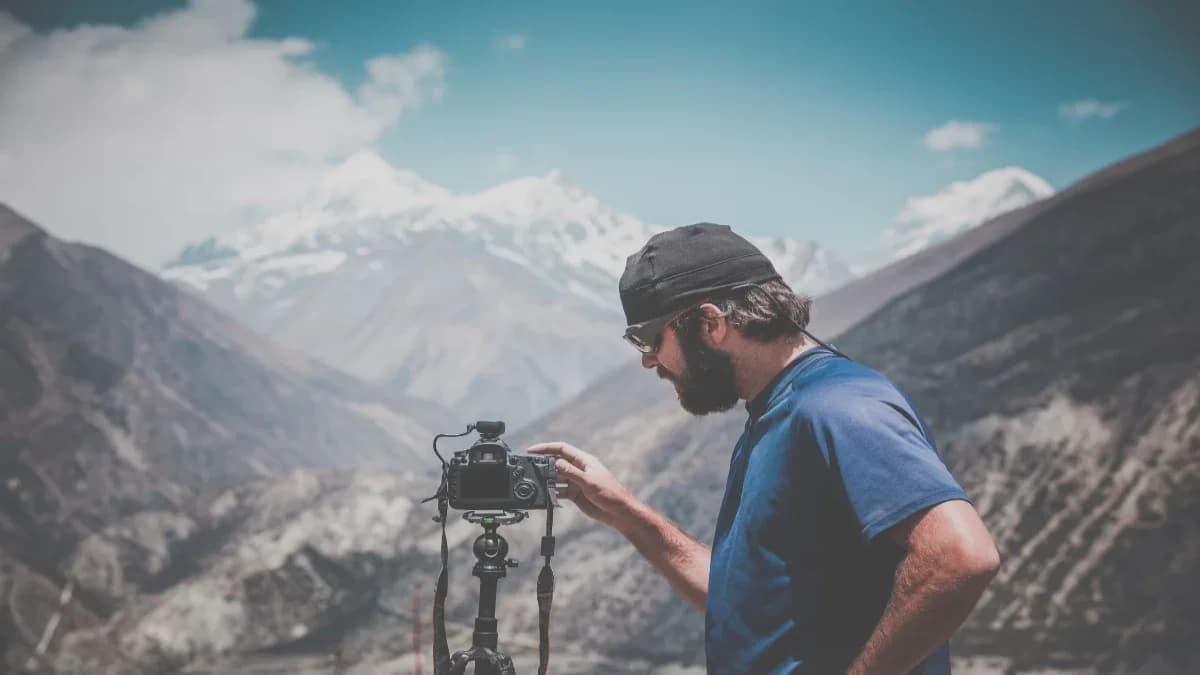
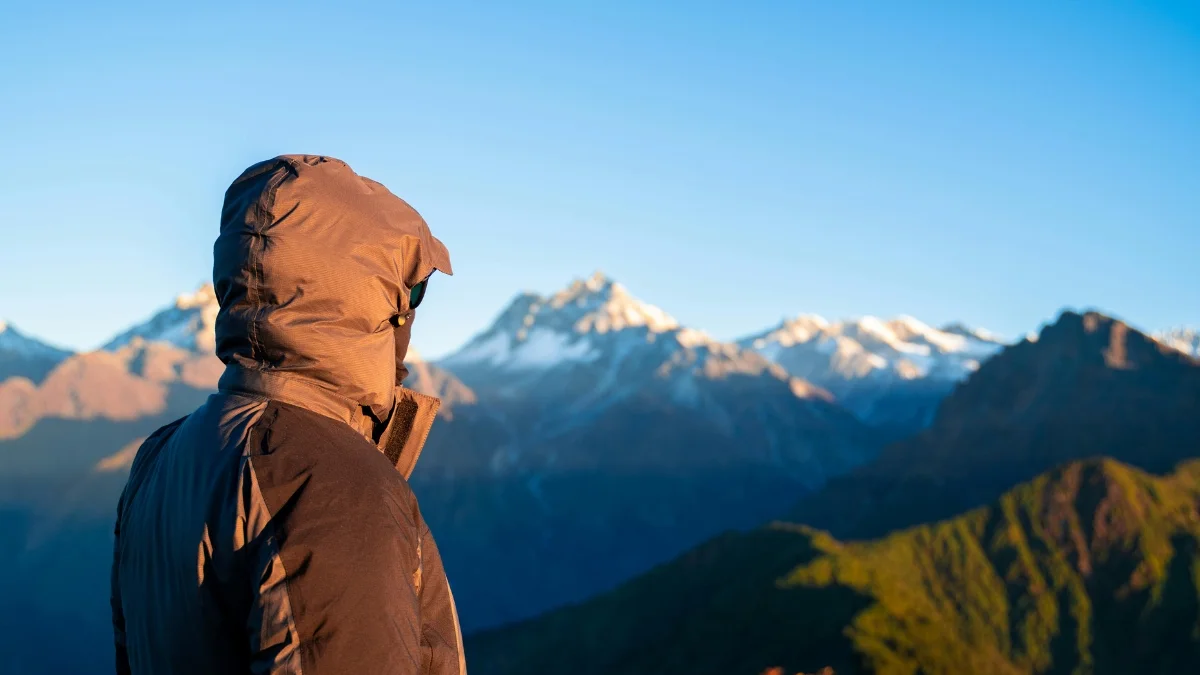
Nepal is a total dream for photographers. Between the massive Himalayan peaks and those quiet villages tucked away in the valleys, basically every step you take on a trek is a new story waiting to be framed. But honestly, trekking here isn't like normal travel photography. The mountains constantly hide behind moving clouds, the light changes in seconds, and the trails can be super crowded or totally empty.
To really capture how beautiful it is, you need more than just a camera. You need to be prepared, stay patient, and look for those specific moments that tell a story. This Nepal trekking photography guide shows you how to handle trekking photography in Nepal while on the move, from picking the right gear to framing shots of the land and the local life.
Whether you’re a beginner or a young photographer out for an adventure, these tips help you grab every moment the Himalayas offer.
Is it actually worth taking photos while trekking in Nepal?
Yeah, it totally is. Nepal has some of the most intense landscapes on the planet, and every day on the trail gives you a chance to shoot mountains, tiny villages, and local culture that you just won't find anywhere else. Plus, looking back at your shots later is the best way to remember the trip.
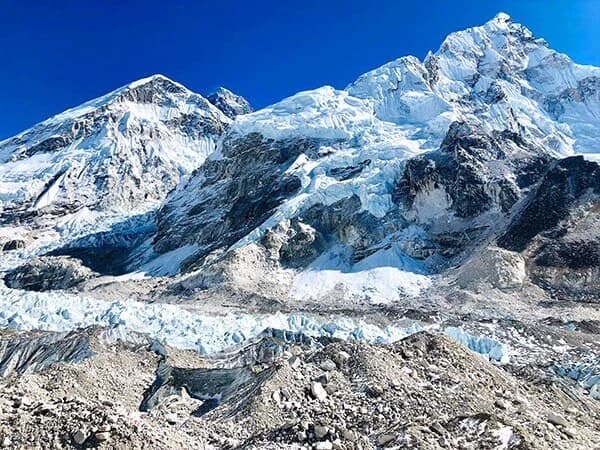
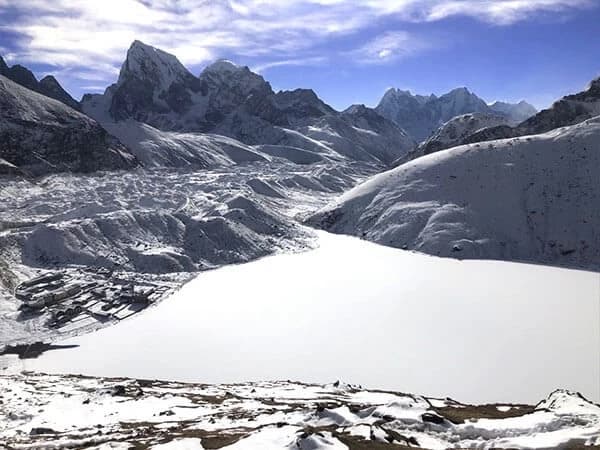
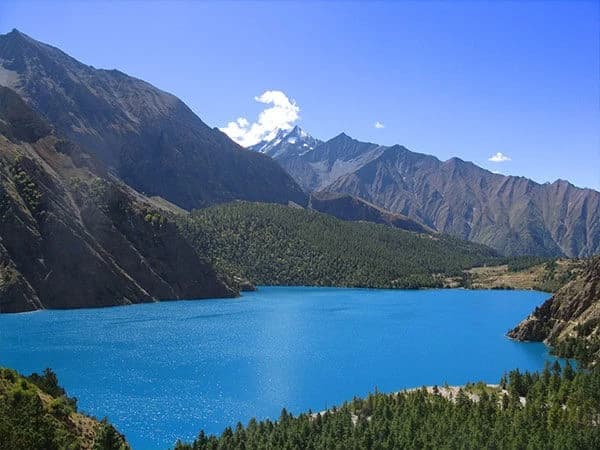
- Insane Landscapes: The peaks, valleys, and forests change constantly with the light. You get endless chances for mountain photography Nepal in places like:
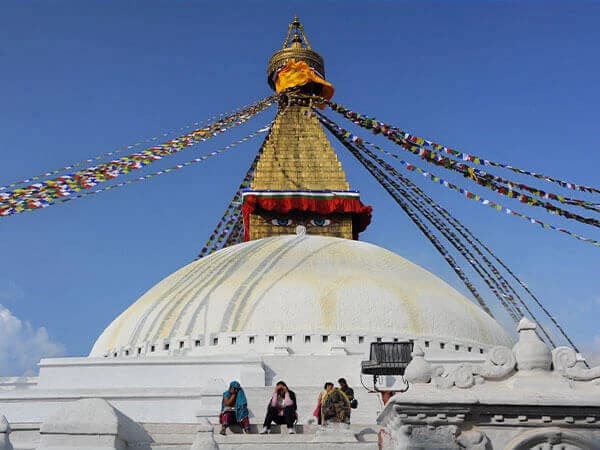
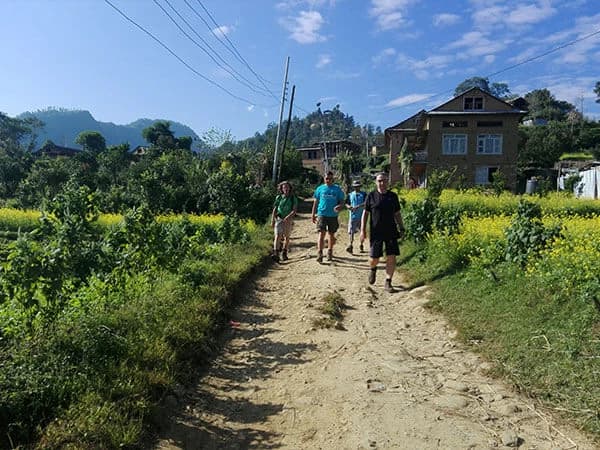
- The Culture: The local villagers, monks, and porters give your photos a sense of scale and feel way more authentic.
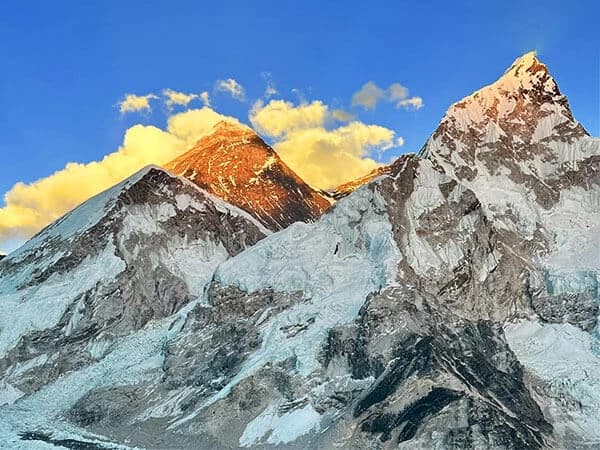
- One-off Moments: Things like the early morning sun, prayer flags flapping in the wind, or wild storm clouds make for some really unique Himalayan trekking photography.
- Slow Down: Photography actually forces you to be patient and notice the small details you’d normally just walk past.
Tip: Even if you're there for the hiking, stopping for a second to snap a photo helps you relive the whole experience. At Nepal Gateway Trekking, we always tell people to slow down and really look around so they can grab those shots that make the trip unforgettable.
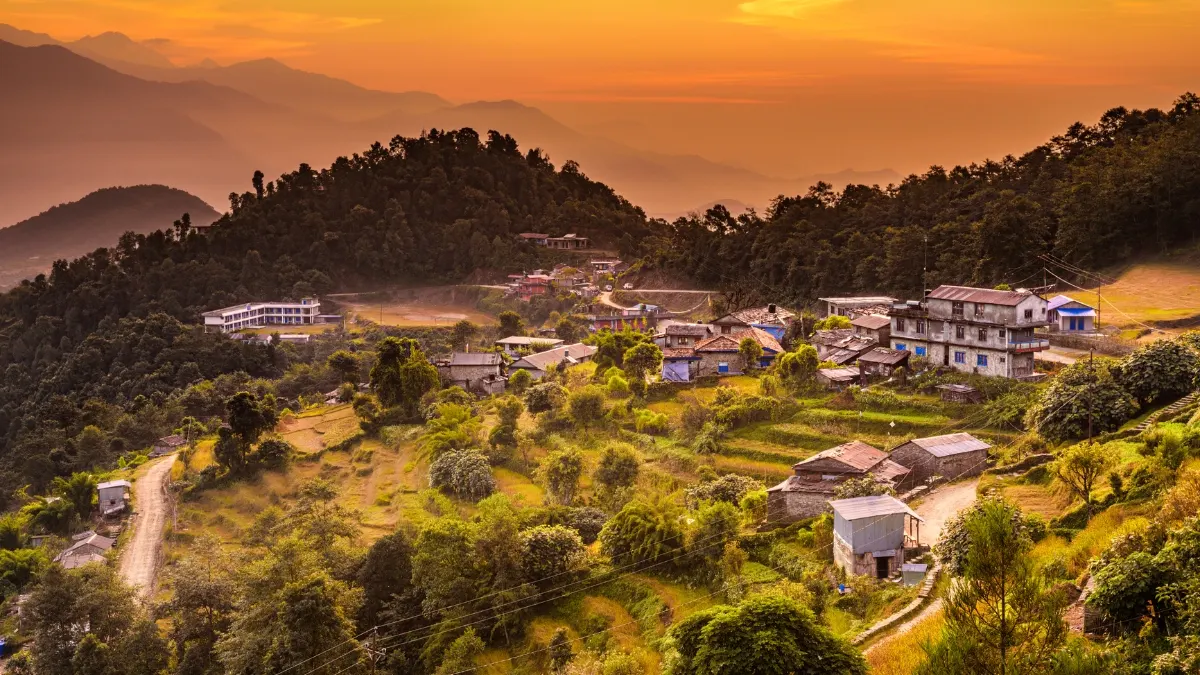
Where to go for the best photography in Nepal?
|
Region |
What you'll see |
Best time to go |
|
Everest |
Huge glaciers, massive peaks, and Sherpa culture |
Spring or Autumn |
|
Annapurna |
Diverse trails and traditional mountain villages |
Spring or Autumn |
|
Langtang |
Quiet, forested trails and views of Langtang Lirung |
Autumn or Early Spring |
|
Rough, raw landscapes and way fewer crowds |
Autumn |
|
|
High-altitude desert vibes and cool rock texture |
Spring or Autumn |
Getting ready for the trail before you go
If you want to actually get good shots of the scenery and the people, you've gotta do some prep work first. Getting ready ahead of time means you'll be taking sharp, cool photos instead of fumbling with your buttons while you're huffing and puffing up a hill.
Practice with your gear
Before you land in the Himalayas, you really need to know your equipment inside out:
- Try using your camera on uneven ground or stairs to get used to the vibe of Annapurna trekking photography.
- Learn how to mess with your ISO, aperture, and shutter speed fast, without needing a manual.
- Practice shooting while you’re actually moving to prep for those steep, skinny trails.
Pro tip: Maybe keep a little note on your phone about which settings worked best for sunrise or when it’s super cloudy.
Get your head (and body) in the game
Nepal landscape photography takes a lot of energy and even more patience:
- Walk at a pace that doesn't leave you gasping for air so you're actually ready when a cool shot pops up.
- Drink a ton of water and try to sleep well so you don't lose focus during those long days.
- Don't get mad at the weather. Fog in Langtang or heavy clouds over Everest can actually make for way more dramatic shots than just a boring blue sky.
Respect the locals
Taking photos of people makes your shots feel way more "real," but don't be a jerk about it:
- Always ask before you point your lens at someone. Usually, a smile or a quick nod is all it takes.
- Take a second to see what’s happening in monasteries or at festivals before you start clicking away.
Pro tip: Watch how the locals live and work, that’s usually where you find the best cultural photography Nepal has to offer. Basically, if you prep your skills and your mindset before you leave, you’ll be ready to catch the magic at every turn.
How to Choose and Manage Gear for Stunning Photographs in Nepal?
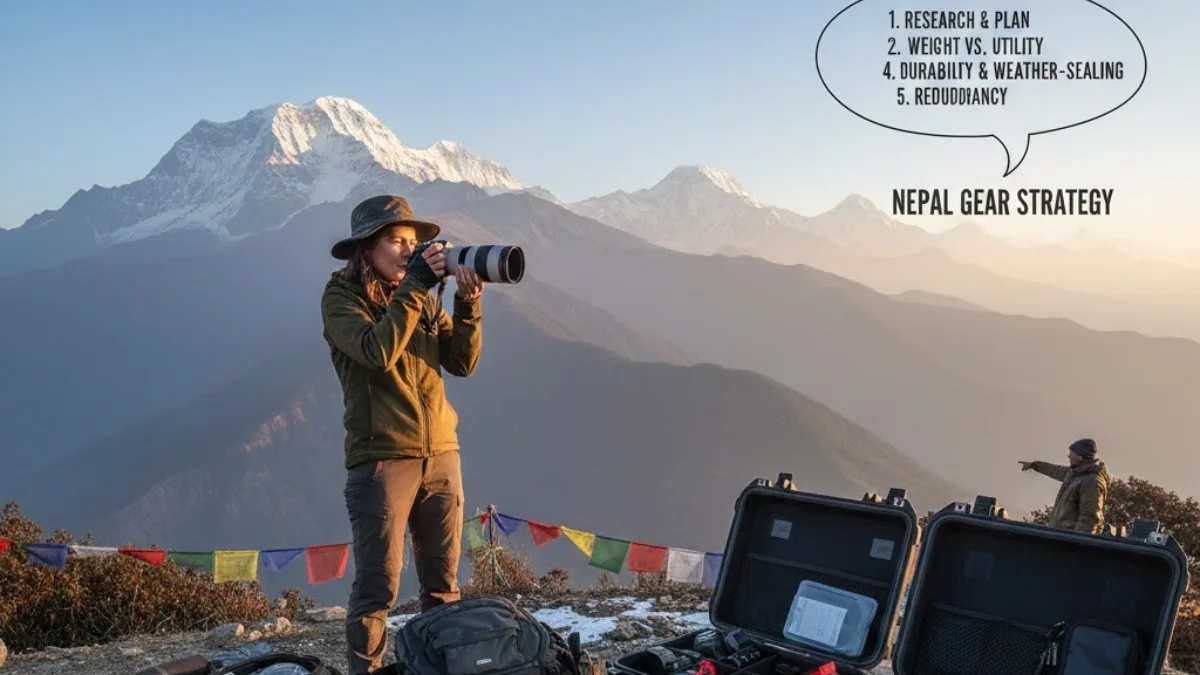
If you want to get those amazing photos without hating your life on the trail, you’ve gotta go light. Choose versatile stuff, carry it in a way that doesn't break your back, and protect your glass and batteries from the elements.
Light gear is everything
Staying light means you’ll actually pull your camera out instead of leaving it in your bag:
- Mirrorless cameras are great because they give you pro-level quality but aren't nearly as bulky.
- DSLRs are tough as nails, but they get really heavy after six hours of uphill hiking.
- Seriously, only bring what you’re actually going to use. Extra lenses just turn into dead weight.
Pro tip: Get a small, padded camera bag, it helps spread the weight out so your shoulders don’t kill you.
Carry it the smart way
The way you haul your gear determines if you're ready for a shot or if you're just struggling:
- Don't just hang your camera around your neck all day; it’s a recipe for a massive headache.
- Use those backpack clips or a belt mount so you can grab it fast while you're walking.
- Make sure there’s enough padding so you don't break anything if you bump into a rock.
Lenses and extras
Picking the right glass is how you nail both the huge views and the tiny details:
- A wide-angle lens (like a 10–24mm) is the best camera for trekking Nepal setups for those massive valley shots.
- A telephoto lens (70–200mm) is clutch for distant peaks or shooting village life from a distance.
- Grab a polarizing filter, it makes the sky pop and cuts down on that harsh mountain glare.
- Try not to swap lenses when it's super windy or dusty, or you'll end up with junk on your sensor.
Protecting your batteries and sensor
The cold and dust are basically your camera's worst enemies:
- Stick your spare batteries inside your jacket or your sleeping bag at night. If they get too cold, they’ll die in like five minutes.
- This is a huge part of photography gear for trekking, never change your lens in a dust storm.
Pro tip: Keep a microfiber cloth handy in your pocket to wipe off the lens during breaks.
Basically, if you keep your kit simple and take care of it, you can focus on the fun part: taking photos. Whether you're doing Everest Base Camp photography or hitting the trails in Langtang, this is how you get those sharp, vibrant shots.
Making your photos actually tell a story
If you want your shots to look less like "random vacation snaps" and more like professional work, you’ve got to think about how you frame them. It’s all about those little composition tricks that make a photo feel more dramatic.
- The Rule of Thirds: Basically, don't just stick everything right in the middle. If you put the mountains or the people slightly off to the side, the whole image feels more balanced and interesting to look at.
Example: Try putting a peak like Annapurna on the left third of the frame while the trail fills up the rest.
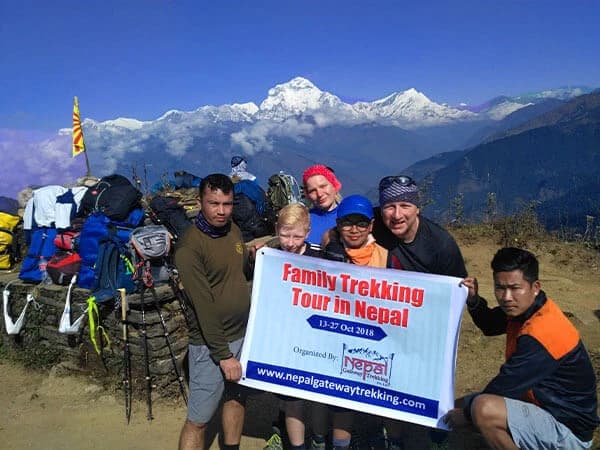
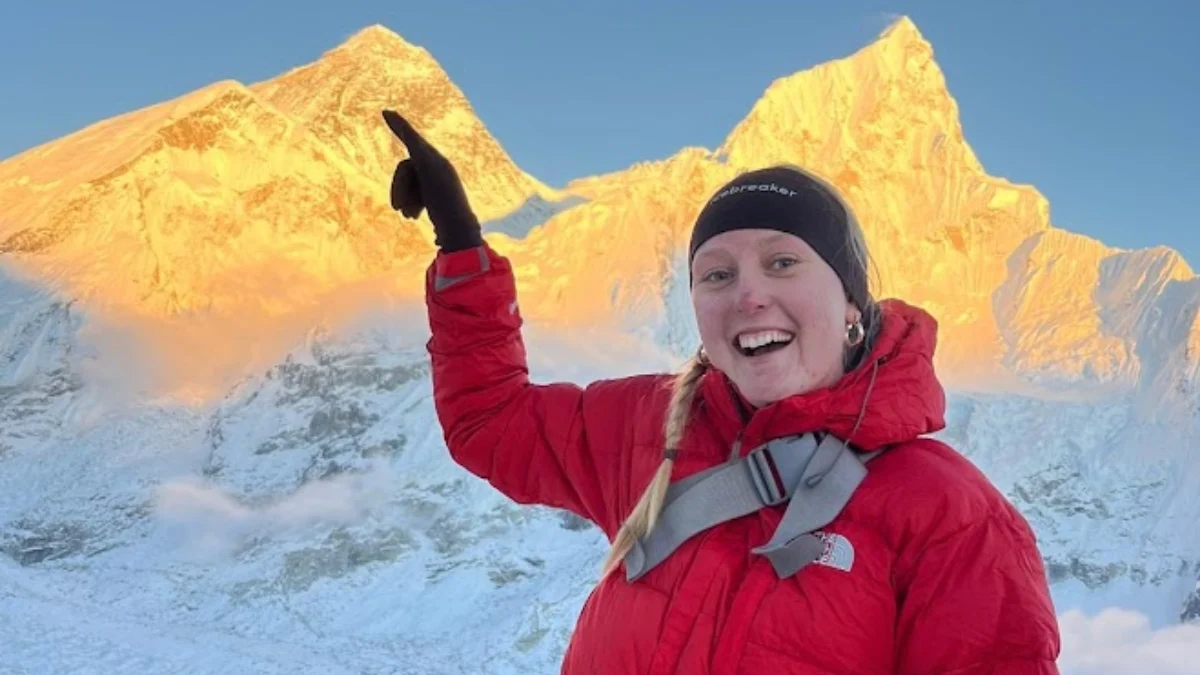
- Use people to show scale: Mountains in Nepal are huge, but it’s hard to tell just how big they are in a photo. Adding a trekker or a porter into the shot shows everyone how tiny we really are compared to the landscape.
Example: Snapping a photo of a porter on the Everest Base Camp photography route instantly makes those peaks look massive.
- Use the foreground for depth: Don't just point and shoot at the horizon. If you put some rocks, a trail, or even some prayer flags in the front of the shot, it leads the person looking at the photo right into the scene.
Example: In Langtang, getting some colorful flowers in the bottom of the frame adds a nice layer to your mountain photography Nepal shots.
- Don't forget the small stuff: The big views are great, but the little things tell the real story. Take photos of your boots, a map, your morning tea, or just the vibe inside a teahouse.
Example: A shot of a steaming mug with snowy mountains in the background really captures that "Himalayan trek" feeling.
Tip: When you mix these framing tricks with the actual story of your day, your photos go from being just "okay" to being something people actually want to look at.
What technical camera settings actually matter?
If you want to nail those photography tips for trekking in Nepal, you’ve got to get comfortable with manual mode and shooting in RAW. It sounds technical, but it’s the only way to handle the crazy light and weather you’ll run into.
Manual mode made easy
- ISO: Keep this as low as possible (like 100–400) so your photos aren't grainy. You’ll only really need to bump it up in dark teahouses or if you're shooting way before sunrise on Poon Hill.
- Aperture: For those big landscapes, stick to a high f-stop like f/8 or f/16 to keep everything sharp. If you want that blurry background for a portrait, drop it down to f/2.8 or f/5.6.
- Shutter Speed: Go fast to freeze a moving yak or a fellow trekker. Go slow if you want those waterfalls in Langtang to look all silky and smooth.
Pro tip: Just take a few test shots whenever the light changes so you aren’t guessing when the perfect moment hits.
Always shoot in RAW
Basically, RAW files save way more data than a standard JPEG. This is a lifesaver when you're trying to fix a photo where the snowy Everest peaks are too bright or the valleys are too dark. It gives you so much more room to play with during editing.
Pro tip: These files are huge, so make sure you pack a few extra memory cards.
Handling filters and weird weather
- Polarizers: These are essential. They cut the glare off the snow and make the sky look that deep, intense blue you see in professional Nepal landscape photography.
- Don't hide from "bad" weather: Honestly, some of the best shots happen when it's moody. Mist, rainbows, and storm clouds over the mountains look way more interesting than just a plain sunny day.
Pro tip: Polarizers work best when you’re at a 90-degree angle to the sun, so keep an eye on where the light is coming from.
At the end of the day, knowing how to tweak your settings for the light and the movement around you is what makes your photos feel real.
Quick Tips Checklist
- Get out of bed early to catch that golden hour light.
- Don't overpack; only carry the gear you actually need.
- Keep your batteries tucked inside your clothes to stay warm.
- Go wide-angle for the big views and telephoto for the tiny details.
- Always try to include people in your shots to show the actual scale.
- Keep a close eye on how the weather is shifting.
- Shoot in RAW, so you have more to work with when you're editing later.
- Always be respectful of the locals people of the himalayas and the culture you’re visiting.
Final Thoughts
Look, taking photos while trekking through Nepal is a lot of work, but it’s totally worth it if you’ve prepped right and actually thought about your gear and your story.
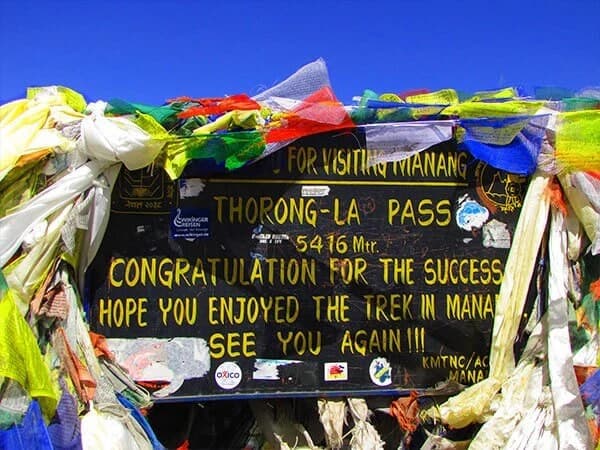
Between Everest and Annapurna, or even the quieter spots like Manaslu and Upper Mustang, you’re basically walking through the most photogenic places on earth. If you practice with your camera before you get here, stay in shape, and really respect the local culture, you're going to come home with a massive portfolio instead of just some random phone snaps.
Just don't forget the basics: use people to show how big those mountains are, use the foreground to give your shots depth, and grab those little details that make the trip feel real. If you’re observant and ready, every single day on the trail is a chance to see the mountains and villages in a really cool, vibrant way.
If you're ready to get out there, just reach out to Nepal Gateway Trekking to start planning your trip and capturing all that beauty for yourself.
Frequently Asked Questions
What camera is best for trekking in Nepal?
A mirrorless camera is best for trekking in Nepal because it is light enough to carry all day without sacrificing the pro quality you need for those massive mountain views.
How many lenses should I take?
Taking just two lenses, like a wide-angle and a telephoto, is the best way to cover everything from huge valleys to distant peaks without making your bag too heavy.
Should I shoot in RAW or JPEG?
Shooting in RAW is the best choice for trekking because it saves all the image data you will need to fix tricky shadows or bright snowy peaks when you are editing later.
How do I protect batteries in cold weather?
Keeping your spare batteries inside your jacket pocket during the day and in your sleeping bag at night is the best way to stop the Himalayan cold from draining them.
Can bad weather be good for photography?
Yes, bad weather like fog or storm clouds is actually great for photography because it creates a moody and dramatic look that you just cannot get on a perfectly sunny day.
Should I include people in my shots?
Including people in your photos is the best way to show the true scale of the Himalayas and adds a more human and relatable story to those big landscape shots.
How do I avoid dust on my camera sensor?
Waiting until you are indoors or in a completely calm area to swap lenses is the best way to keep dust and grit off your sensor while you are on the trail.